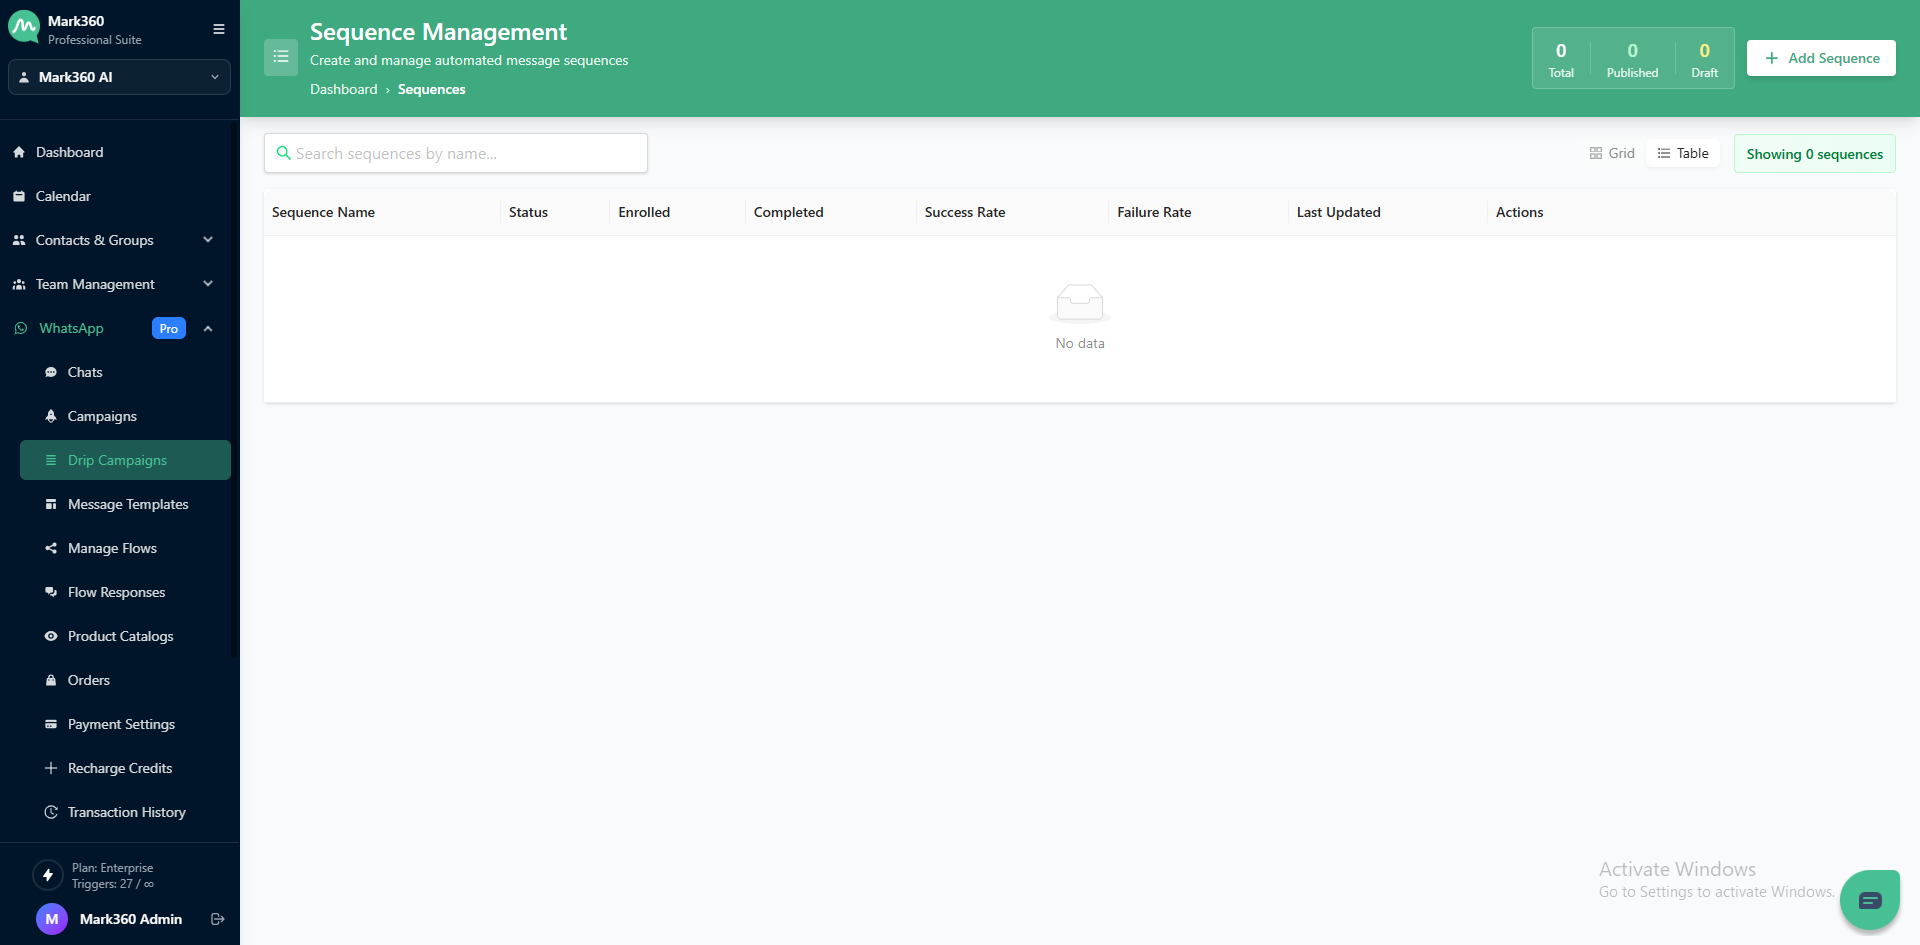
Create New Drip Campaign
Getting started is simple and quick!
Just give your sequence a name, choose the audience you want to target, and select the WhatsApp channel for sending messages.
With these easy steps, you can launch your drip campaign in no time and start engaging your users automatically.
Initiating a New Sequence: Easy Steps to Follow
-
Navigate to WhatsApp -> Drip Campaign in the left menu of mark360.ai.
-
Click on + Add Sequence
- On the top-right corner, click the ➕Add Sequence button.
-
Sequence Name
- The initial step in creating the sequence involves assigning a name to it for your identification purposes.
Set trigger and conditions
Trigger
- Now the trigger is of three types - [On Create, On Update, and Both (Create & Update)]
Conditions
-
You have two types of Conditions - [Start and Stop]

-
To add a condition, click on the “+Add” and select the fields or tags you would like to add as a condition.

You can add one or more conditions for Start and Stop Conditions.
-
You have Success and Failure Conditions under Stop Conditions to define the outcomes and criteria for ending the sequence.

When using multiple conditions, it's important to note that a user will enter the sequence only when all the conditions are met simultaneously.
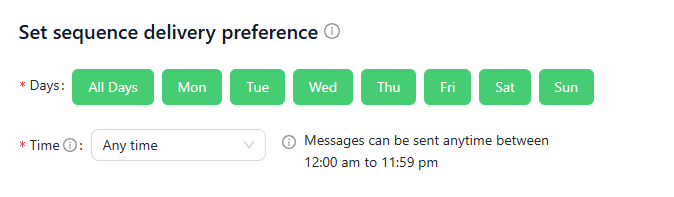
Set sequence delivery preference
This allows you to choose the time range and days on which you would like to send the messages in the sequence. This preference you provide will affect all the message delivery in this particular sequence
Days
We have preselected "All Day," which includes Monday to Sunday by default. If you'd rather choose specific days for message delivery, you can select them, and the selected days will be highlighted in green, while the unselected ones won't be.
Time
We have initially chosen "Any time" (24 hours) as the default settings for you. If you prefer to send messages only between 9 am and 6 pm, simply select "Time Range" and specify a start and end time.

Allow users only once check
This marks the final step of sequence configuration. By default, the checkbox will be selected, meaning that when a contact meets the specified trigger and conditions, they will be allowed into the sequence only once, and the corresponding messages will be sent to them. This prevents them from re-entering the sequence even if they satisfy the trigger and conditions again in the future.
If you wish to enable the sequence to run multiple times for a contact each time they meet the conditions, please uncheck this option. However, note that for contacts who have already entered the flow, they will not be allowed to re-enter until they have completed or exited the flow and the conditions are met again. Conversely, if you initially configured the sequence to allow contacts only once, but you delete a contact and later add them again, they will be permitted to enter the sequence if they meet the sequence conditions.
You have configured the conditions and triggers, to proceed further, click on Next
First Step in a Sequence
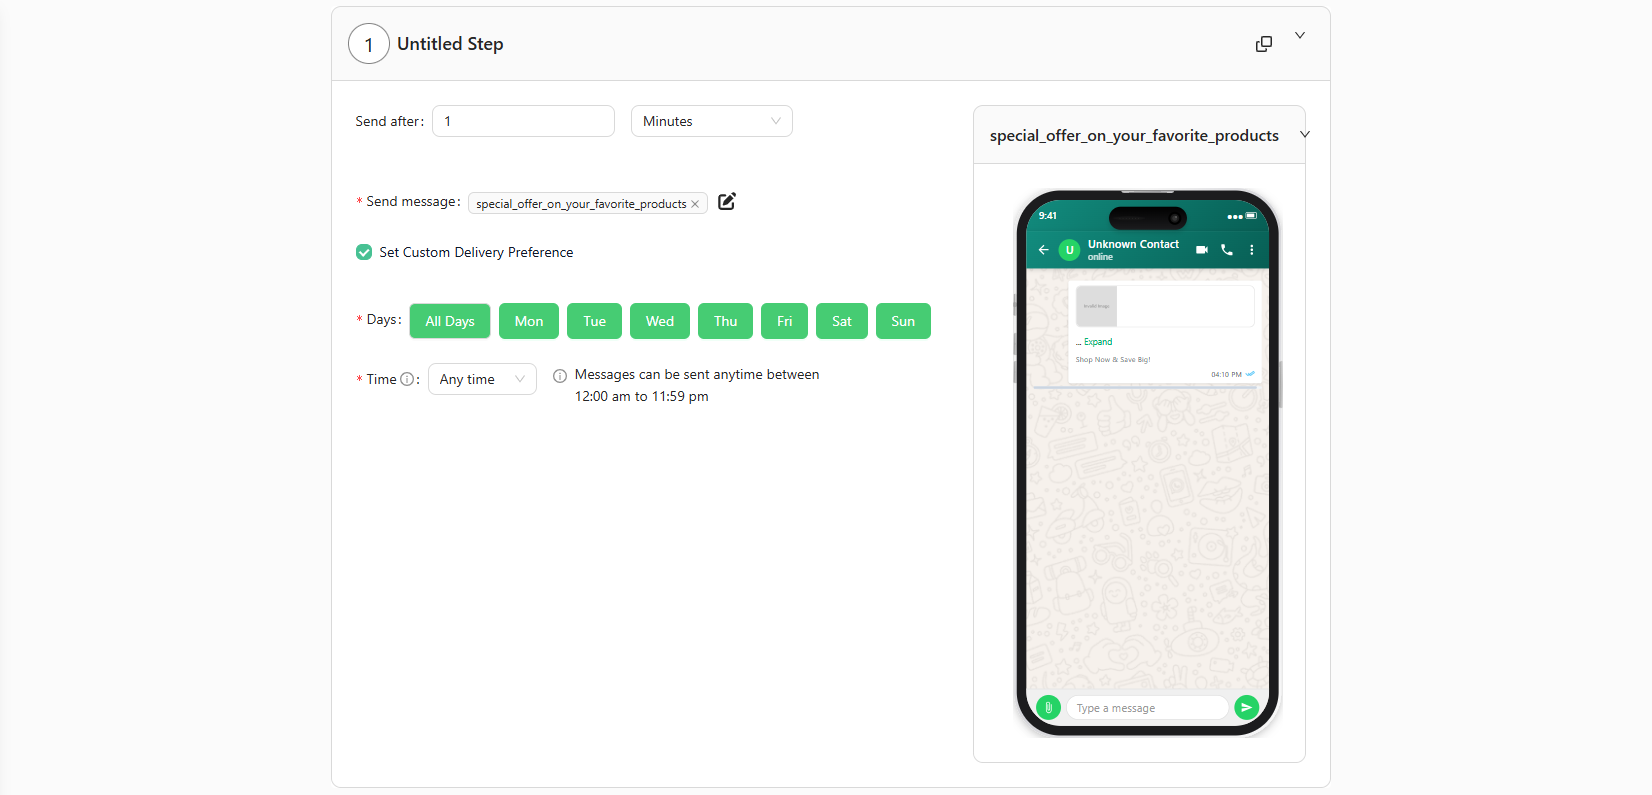
Send After
Select the interval delay for sending this specific message and set the duration in minutes, or hours, or days as desired.
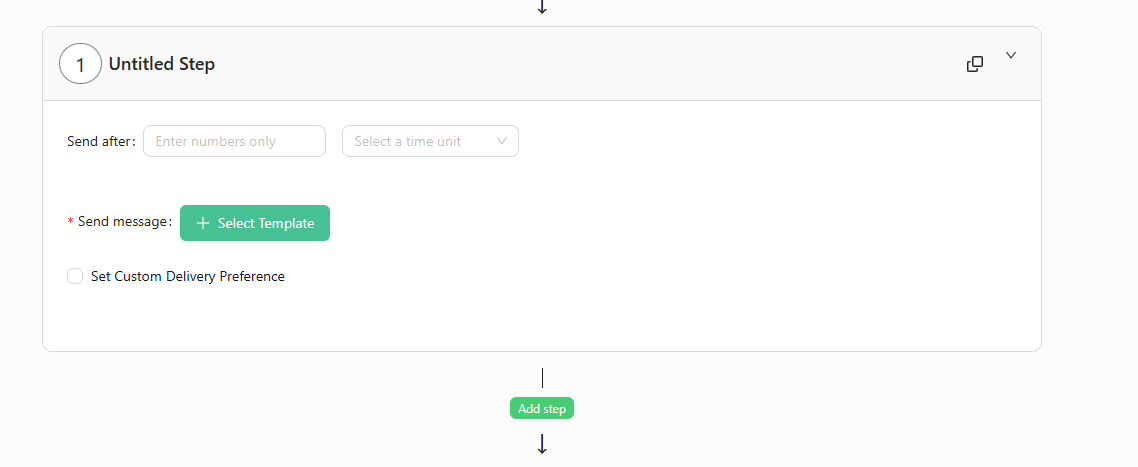
The duration can be upto 60 days, or 168 hours, or 10080 minutes.
Send Message
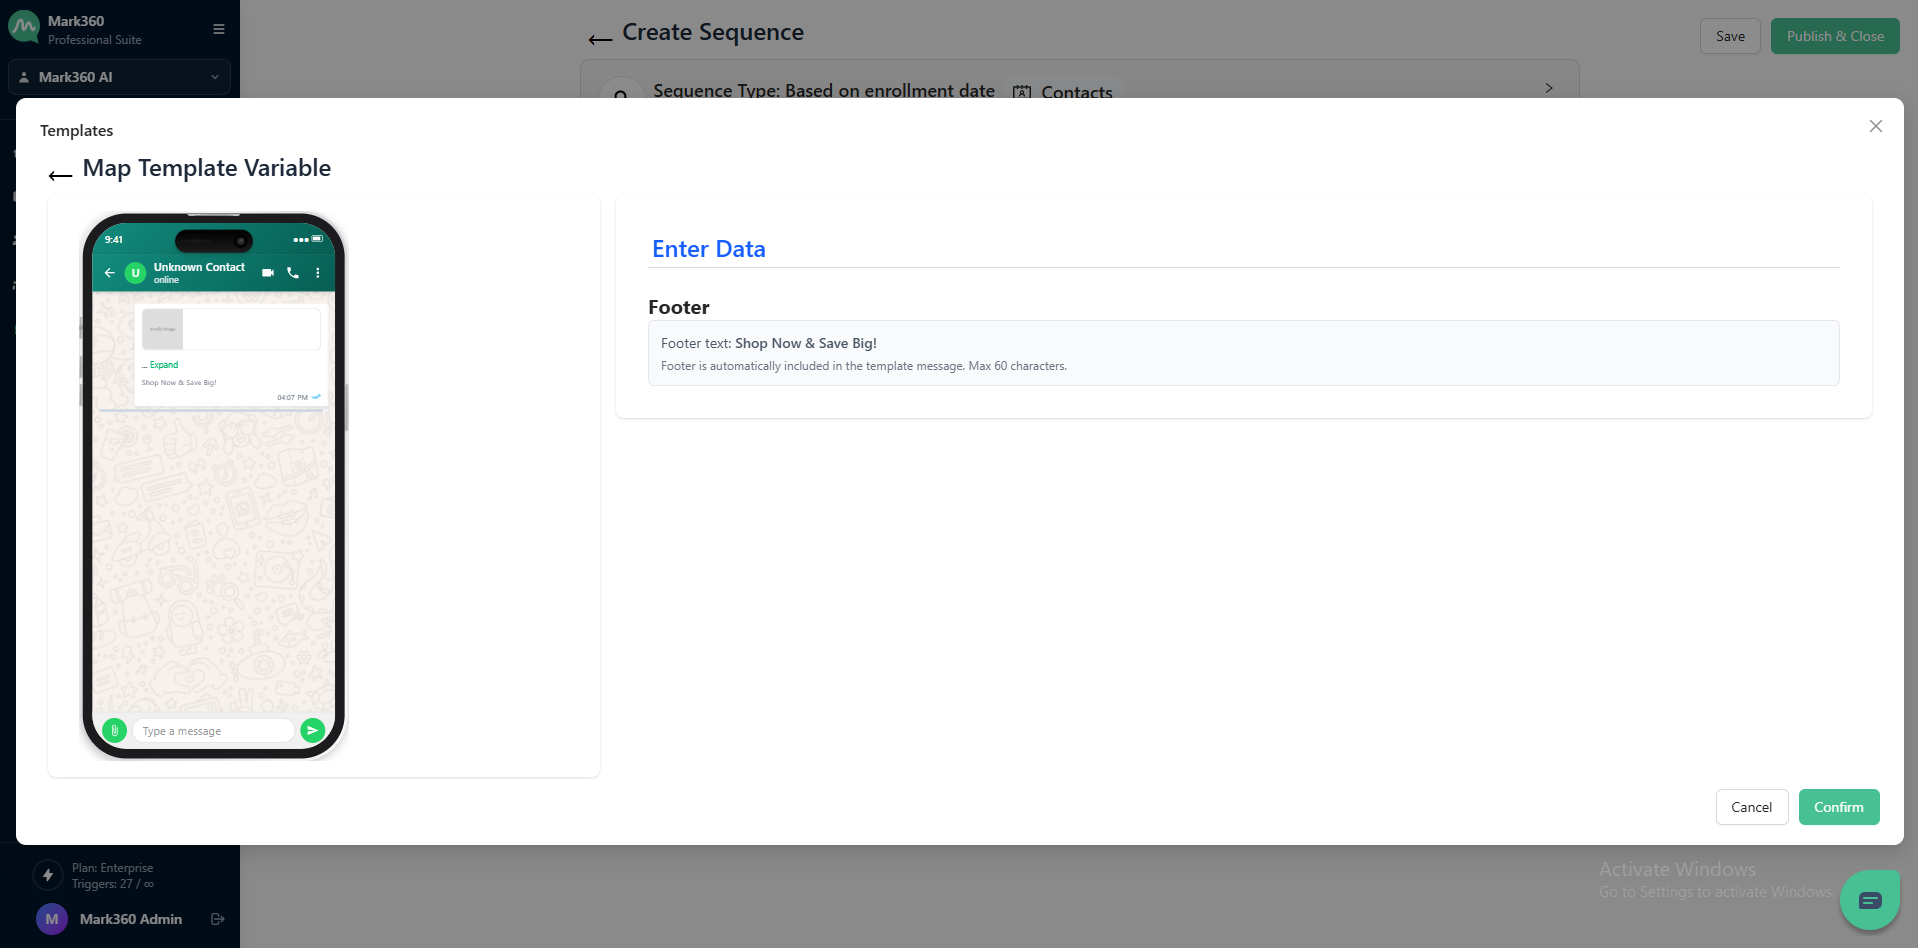
Click on "+ Pick Template," search for your desired template, and click "Select."
If the chosen template contains variables, you can opt to retrieve data from contacts or manually provide a value. Finally, click "confirm" to proceed.
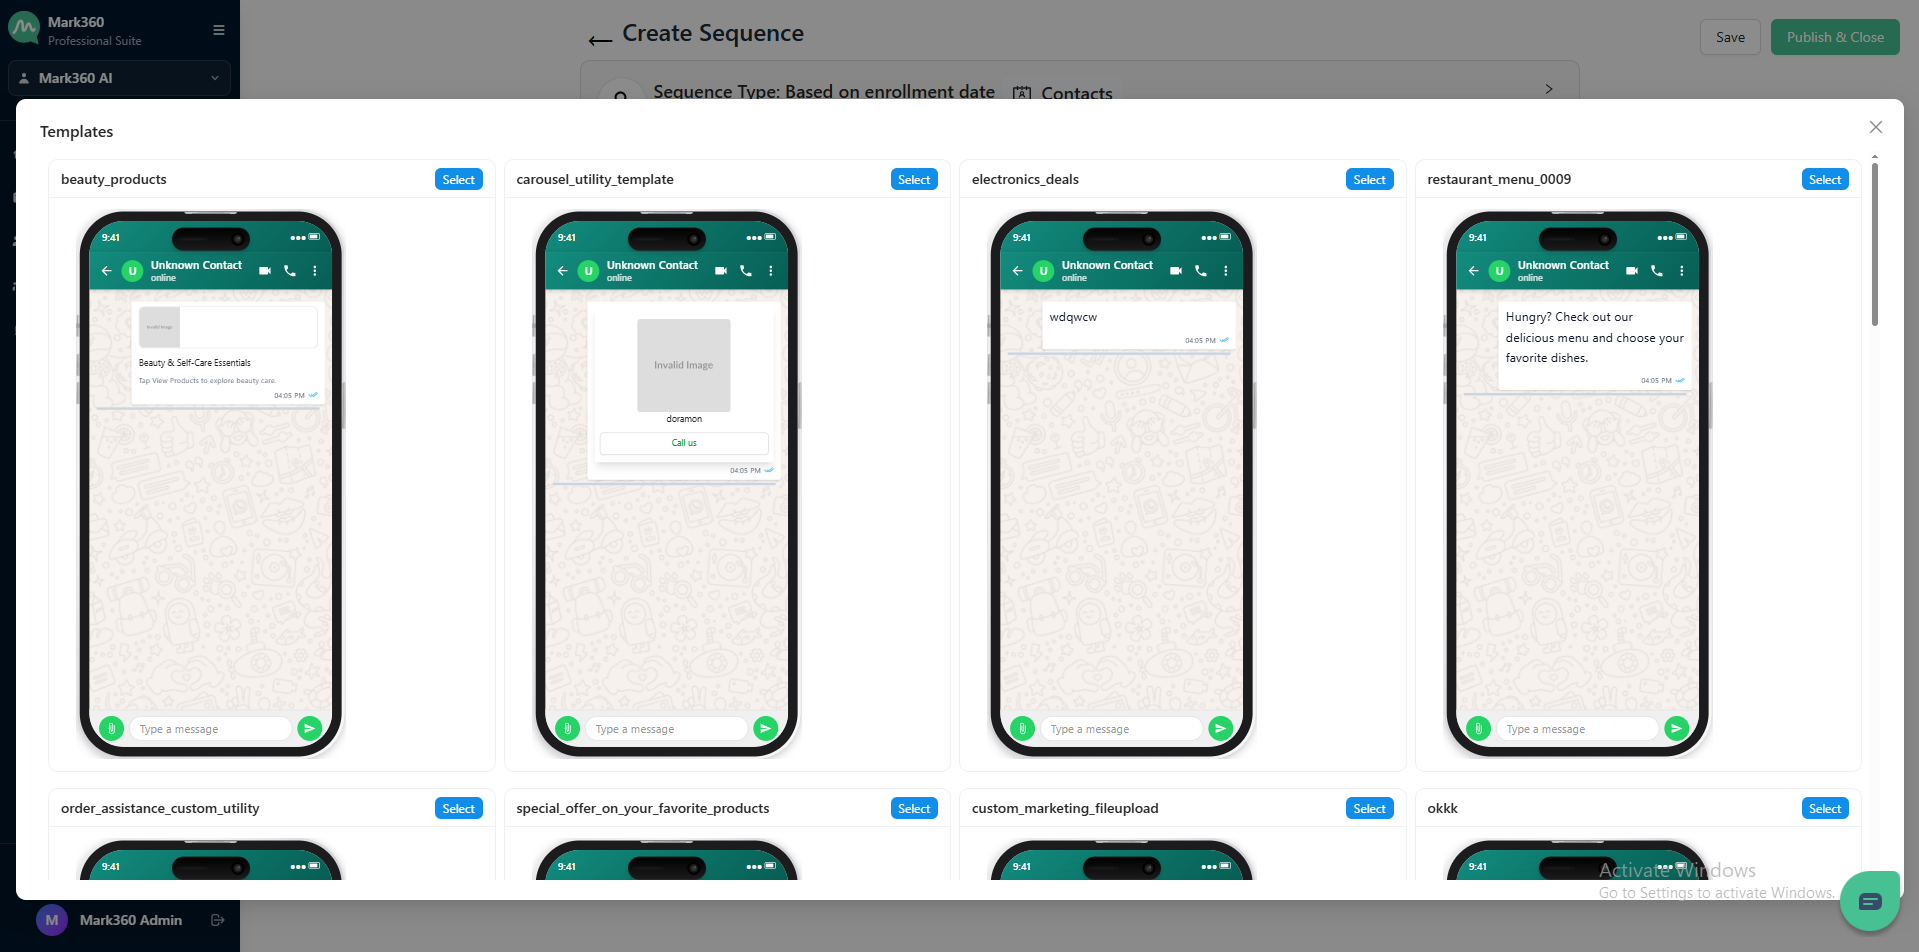
If the chosen template contains CTA button with dynamic URLs, you have the option to pick one variable. Adding a variable creates a personalized link for the customer to view their info. Only one variable can be added to the end of a URL.
Set custom delivery preference
You can control when this message is sent by checking or unchecking the checkbox. This allows you to specify the days and time range for message delivery.
By default, we've chosen "Any time" (24 hours) and "All Day" (Monday to Sunday). However, if you want to limit message delivery to, for example, 9 am - 6 pm, select "Time Range" and set start and end times. If you also want to send messages only from Monday to Friday, select "Selected days" and uncheck "Sat" and "Sun."
Add a new step
To add a new step, click the "Add Step" button, then follow the instructions provided in the first step to successfully add the new step.
Clone step
To clone or duplicate a step, simply hover over the step you want to duplicate and click the cloning icon located at the right end of the card. This action will duplicate the selected step successfully.
Edit a step
You have the flexibility to modify any step's information, including the template, delay, and delivery preference. The delay and delivery preference function just as they did during creation.
To change the template, simply click the edit icon, adjust the value in the pop-up, and click "Confirm" when finished. If you wish to replace the entire template, click "Change," select your desired template, and click "Select." For templates with variables, you can opt to retrieve contact data or manually input a value before clicking "Confirm."
Delete step
To delete or remove a step, hover over or click on the step you wish to delete, and you will see the icons on the right end of the card. Click on the delete icon to successfully remove the selected step.
Publishing the Campaign
After making all the necessary changes and ensuring everything is set up, simply click "Publish & Close" to start sending messages to your customers. A pop-up will appear, and you can click "Confirm" to proceed.