Create Campaign
Overview
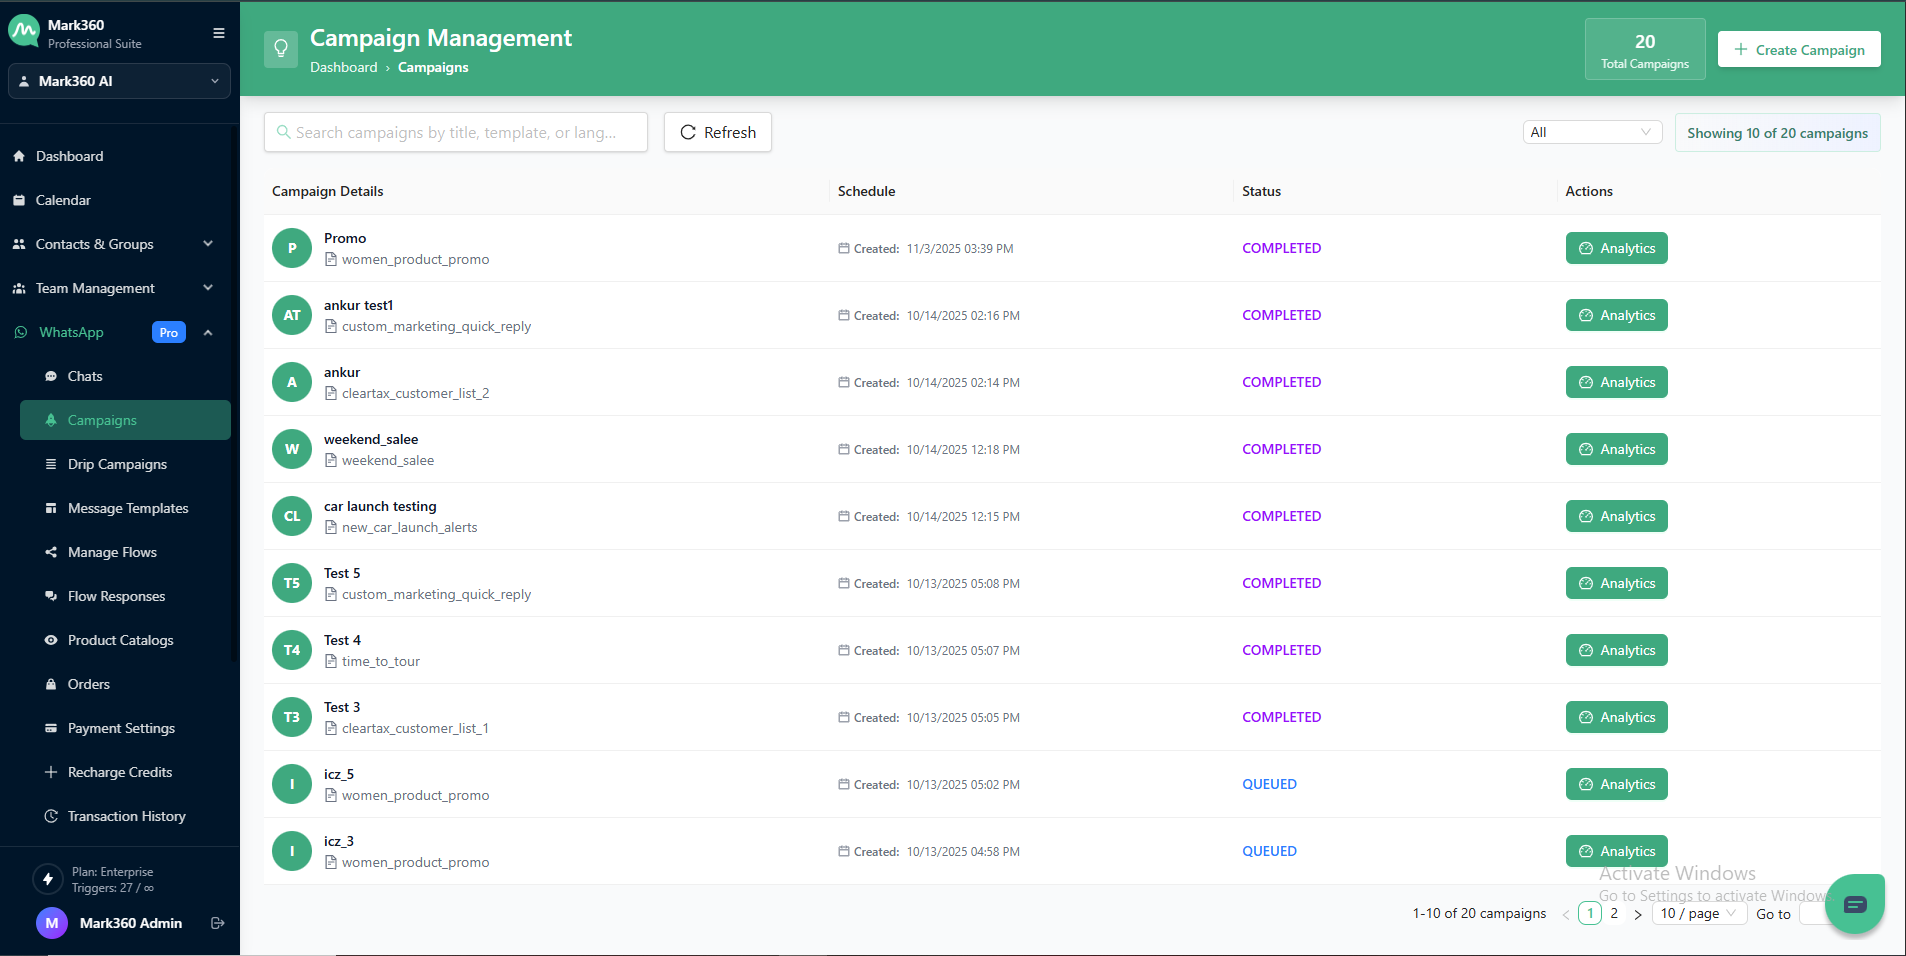
The Create Campaign feature in Mark360 allows you to build and launch targeted WhatsApp campaigns.
It follows a step-by-step process that helps you select templates, choose contact lists, add custom data, and schedule campaigns efficiently.
Accessing Create Campaign
-
Navigate to WhatsApp -> Campaign in the left menu of mark360.ai.
-
Click on the + Create Campaign button at the top-right corner of the Campaign Management screen.
Step 1: Template Selection
This is the first stage of campaign creation where you choose a message template and define your campaign name.
| Field | Description |
|---|---|
| Select Template | Choose a pre-approved WhatsApp message template from the dropdown list. Example: women_product_promo. |
| Campaign Title | Enter a unique name for your campaign for easy identification. |
| Template Details (Preview) | Displays information about the selected template such as:
|
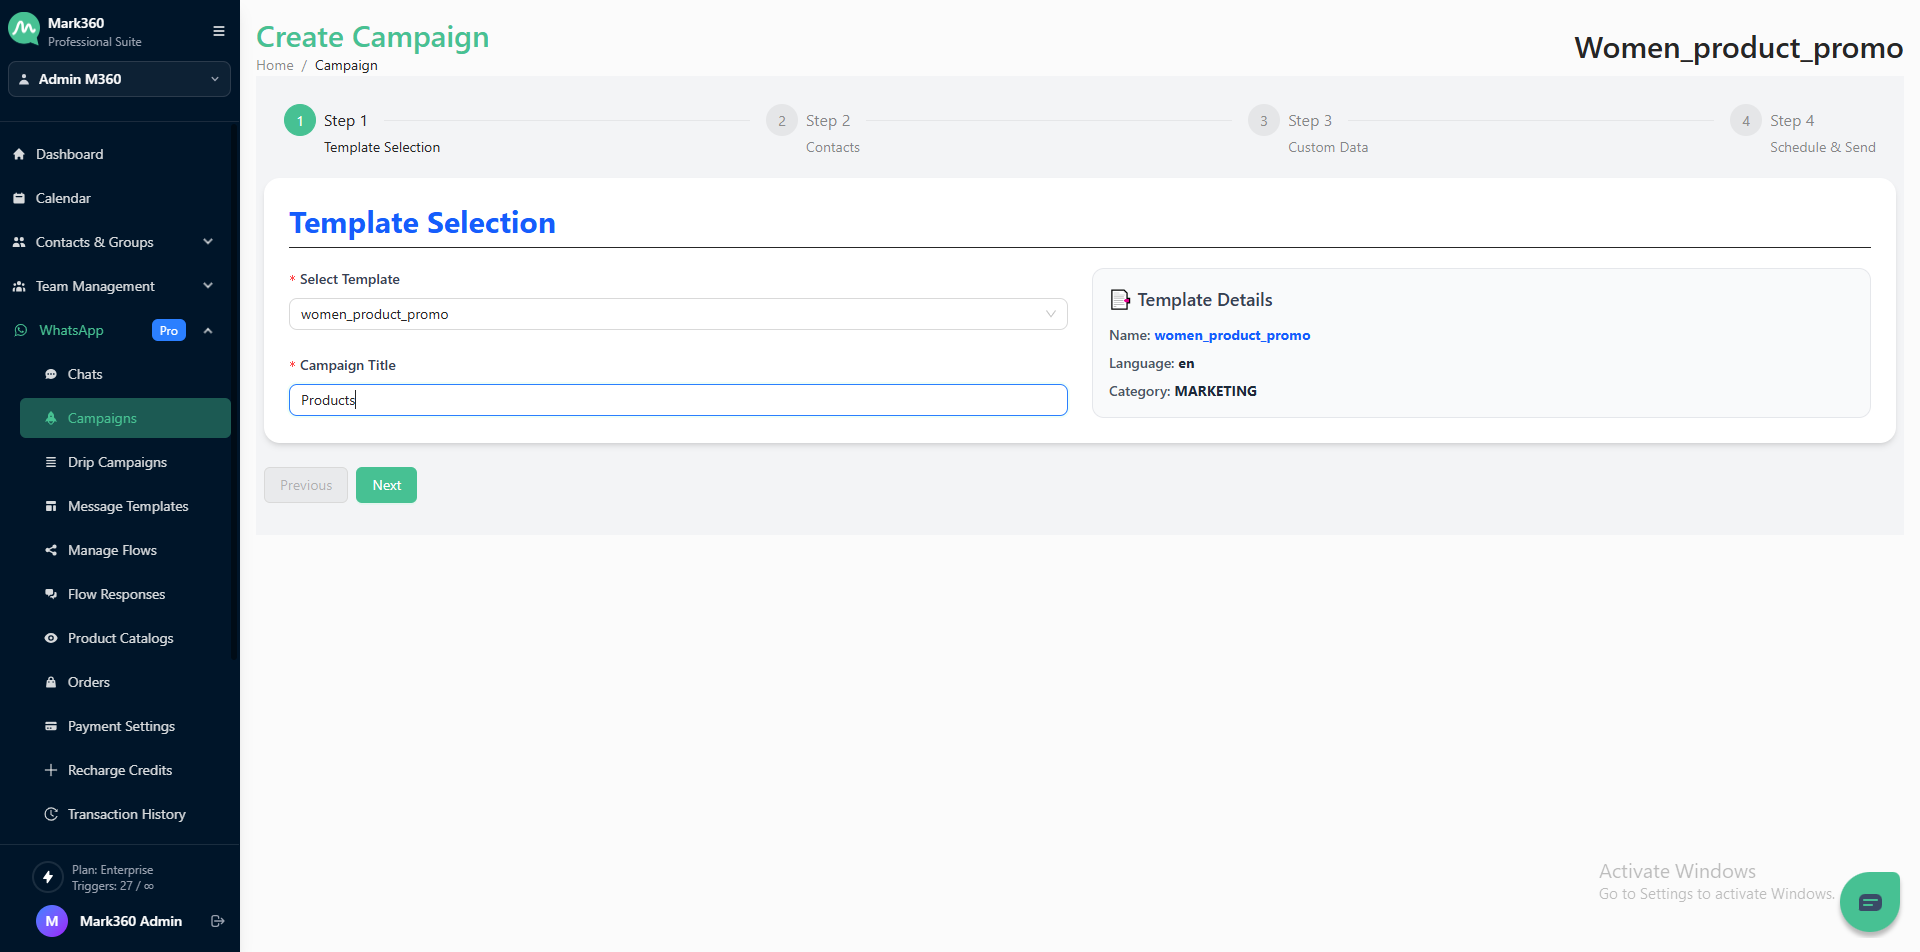
Click on Next
Step 2: Contacts
In this section, you can pick the desired groups that will receive the campaign.
| Field | Description |
|---|---|
| Select Contact Groups | Choose one or more contact groups from the dropdown list. Mark360 supports multiple group selection for sending campaigns to broader audiences. |
| Create Group | Click the Create Group button to build a new contact group without leaving the page. |
| View Contacts | Once you select a group, the contacts under that group will be displayed automatically for review. |
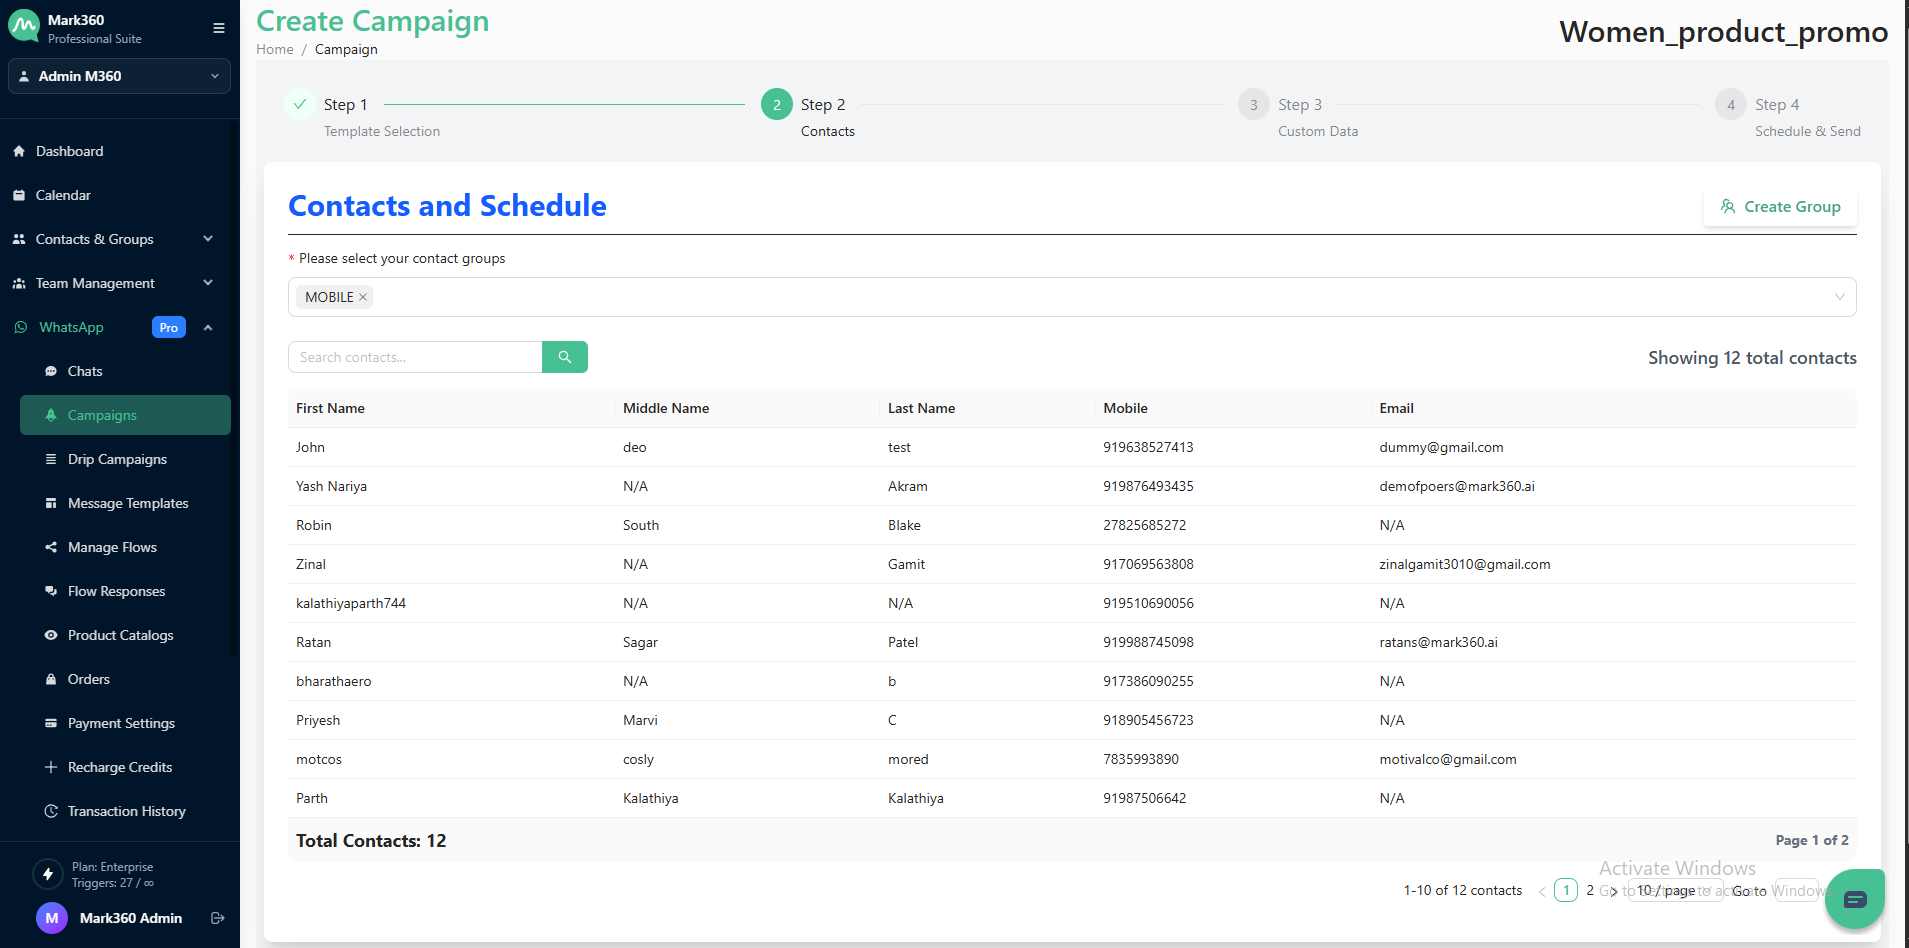
Click on Next
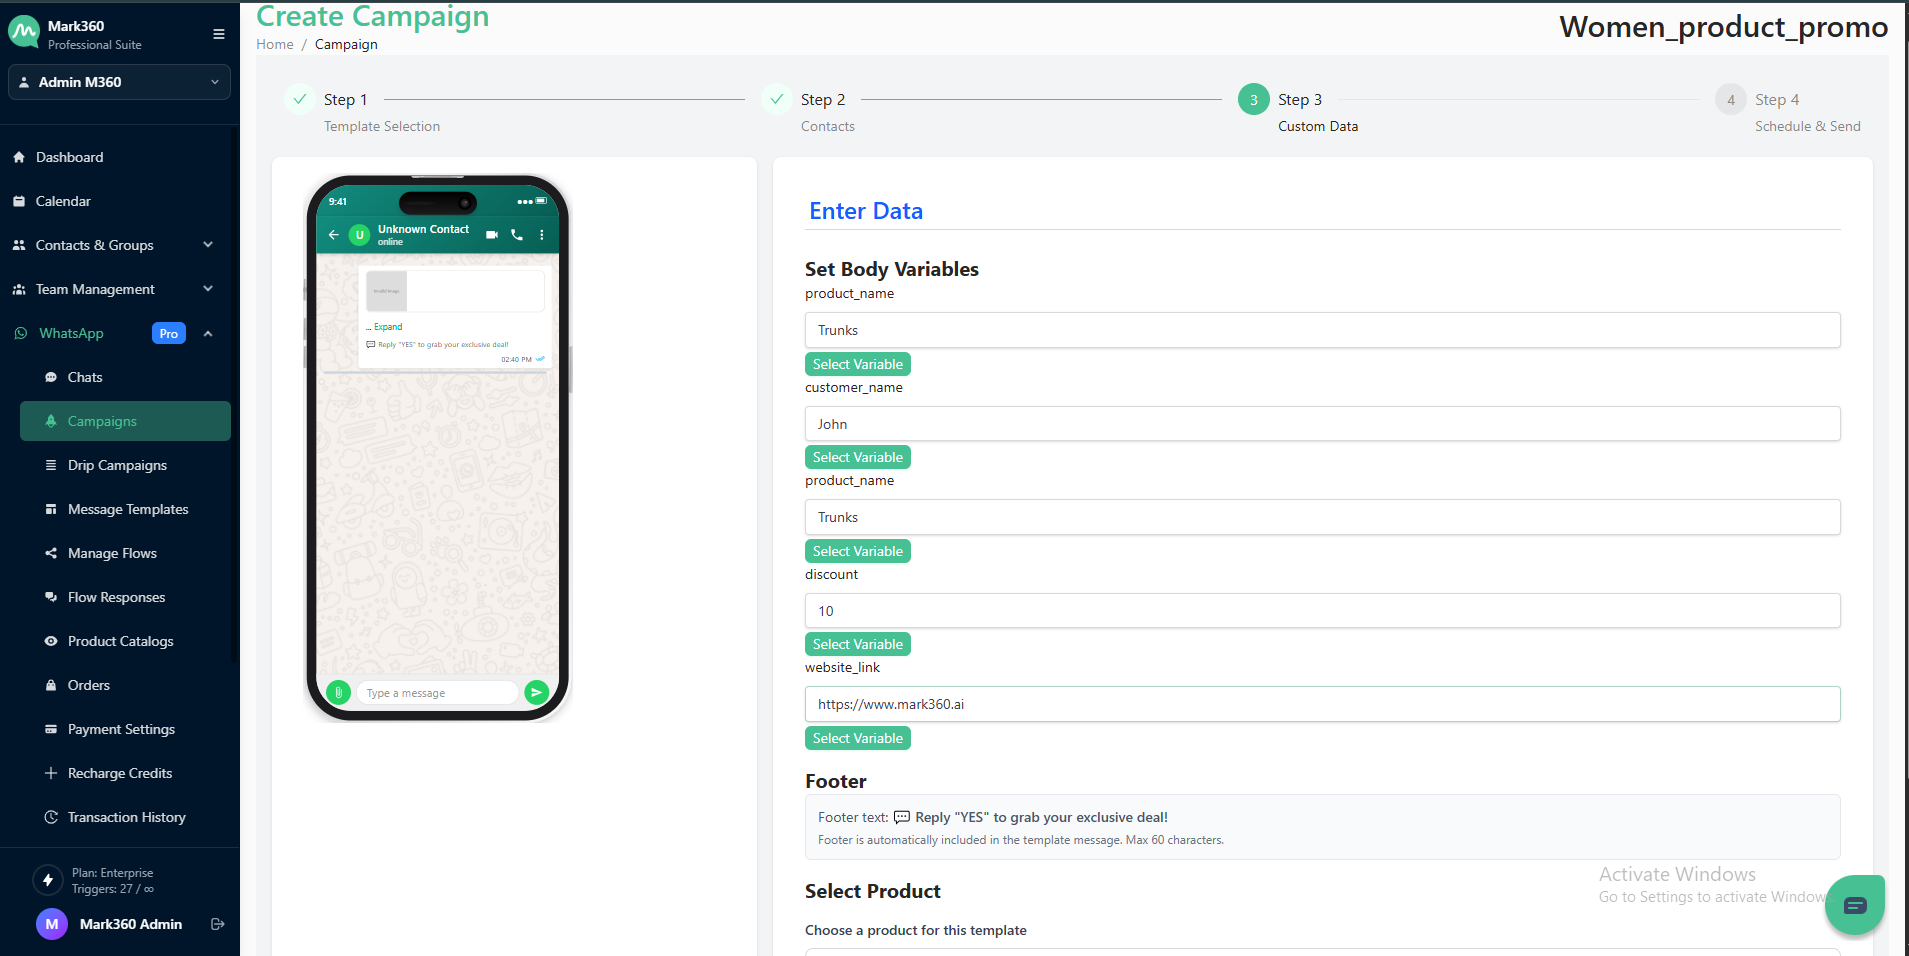
Step 3: Custom Data
This step allows you to personalize your campaign messages by mapping custom data fields.
The custom data fields shown here depend on the template selected in Step 1 — fill in the required details for that template, and once done, click on Next to proceed.
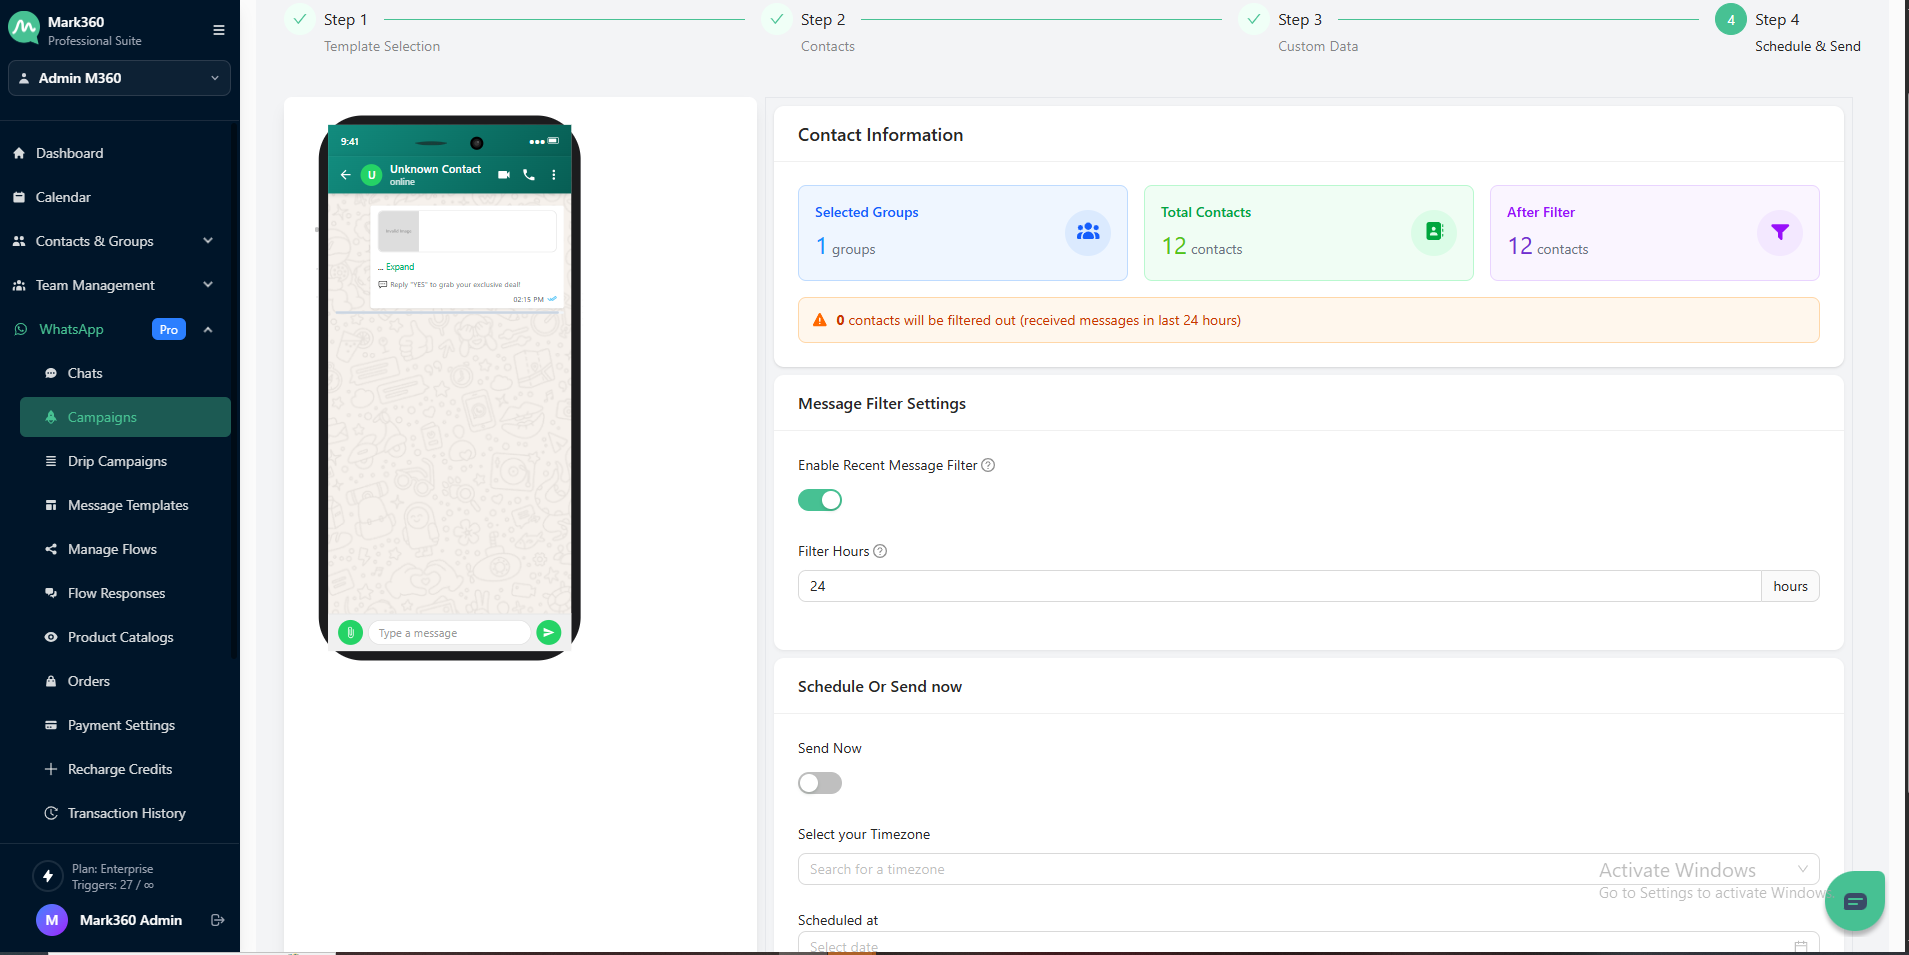
Step 4: Schedule & Send
In this step, you can review your campaign’s contact details, apply filters, and choose whether to send messages immediately or schedule them for later.
Contact Information
This section displays:
- Selected Groups: Shows the number of contact groups selected in Step 2.
- Total Contacts: Displays the total number of contacts in the selected groups.
- After Filter: Shows the number of contacts remaining after applying filters.
Message Filter Settings
Enable the Recent Message Filter to avoid sending messages to contacts who have already received messages within a specific time frame.
- Turn on the toggle for Enable Recent Message Filter.
- Enter the number of hours (e.g., 24) to filter out contacts who have received messages within that period.
Schedule or Send Now
You can choose how and when to send your campaign:
-
Enable the Send Now toggle to send the campaign immediately after clicking Create Campaign.
-
Or, choose to Schedule the campaign by selecting your Timezone, Date, and Time for sending.
Once all details are set, click Create Campaign to complete the process.